
Office Container Layout Guide for Productive Sites
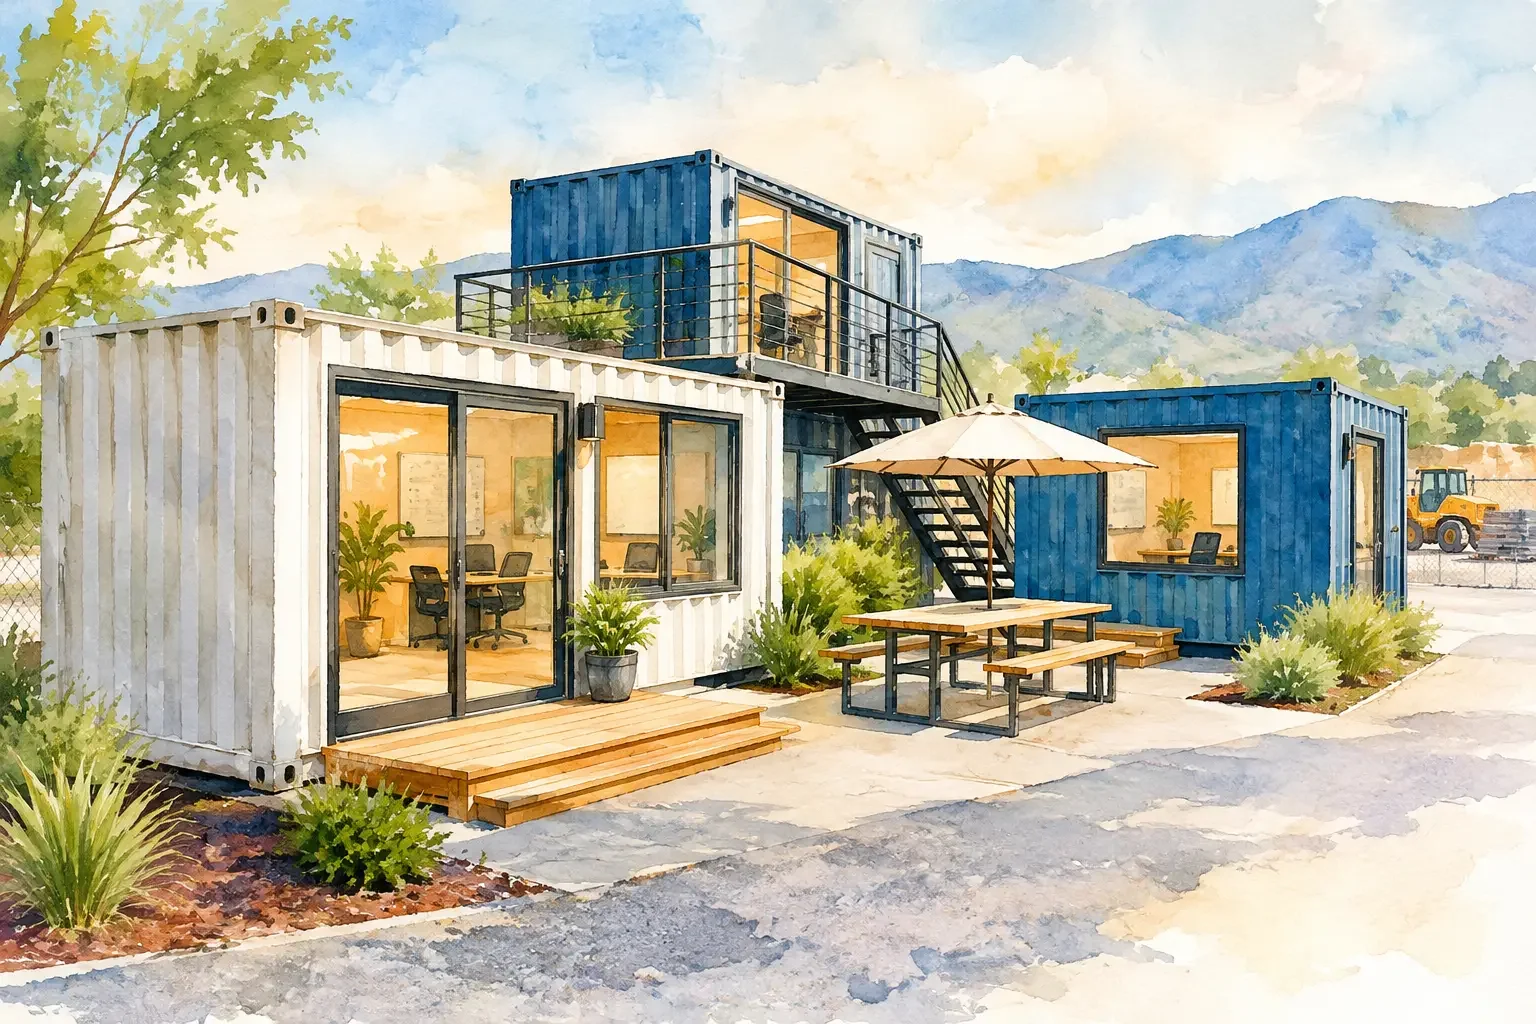
A 40-foot office container can look spacious on a drawing and feel crowded the moment a supervisor adds plan storage, two workstations, a break counter, and a wall-mounted HVAC unit. That is why a practical office container layout guide starts with work behavior, not just container dimensions. The right layout gives crews a secure place to coordinate, complete paperwork, hold brief meetings, and stay productive without creating a bottleneck at the door.
For construction sites, industrial yards, remote operations, and temporary facilities, a container office should function as dependable infrastructure. The best plan considers who uses the space, what they carry in, where they need power, and how the finished unit will be delivered and set on site.
Office Container Layout Guide: Define the Job First
Before choosing windows, doors, or interior finishes, identify the office's primary operating role. A project trailer used by one superintendent has different requirements than a field office supporting six coordinators, a dispatch station, or a customer check-in area. Trying to make every container serve every purpose often produces an expensive layout with too little usable space.
Start with the number of regular occupants, then account for visitors. If two people work in the office but four people routinely enter for morning coordination, plan a clear standing or meeting zone rather than packing the entire footprint with desks. If staff members use tablets and radios, charging access matters. If they review large drawings, provide a dedicated flat surface or wall-mounted plan rack.
Also decide what should stay outside the office. PPE, tools, sample materials, and jobsite storage can consume valuable interior square footage. A separate storage container or a divided office-storage configuration may be a better operational choice than forcing those items into the workspace.
Choose a Container Size That Fits the Workflow
A standard 20-foot container is often a practical fit for one to three users, a guard station, a site supervisor office, or a compact check-in point. Its smaller footprint can simplify placement on constrained sites, but every furnishing choice has more impact. A 40-foot container provides substantially more linear wall space for workstations, storage, meeting space, and partitions.
Interior dimensions vary by container type and finished wall assembly, but standard containers are generally about 7 feet 8 inches wide inside. That narrow width is the central layout constraint. A desk placed along one long wall usually works well because it preserves a clear passage. Desks on both long walls can work in a 40-foot unit, but only when their depth and chair clearance are carefully controlled.
High-cube containers add height, which can improve the feel of the workspace and create room for overhead systems. They do not add width, however. For a layout that needs separate rooms, a wider custom modular structure or multiple connected containers may be more appropriate than asking one narrow unit to do too much.
A useful rule for circulation
Protect the path from the entry door to the primary work area. This route should remain clear when chairs are pulled out, file drawers are open, or a visitor is standing inside. A usable aisle is more valuable than an extra cabinet that makes daily movement difficult.
Put the Entry Where It Supports Site Traffic
Door placement affects nearly every other decision. A personnel door near one end of the container allows the opposite end to become a quieter office or meeting zone. A centered door can create balanced access but may reduce uninterrupted wall space for desks, whiteboards, or shelving.
Think about the approach to the container as well. Personnel should not need to walk around equipment, cross a forklift route, or step directly into a high-traffic vehicle lane. The door location should align with stairs, landings, ramps where required, and a safe pedestrian path.
For offices that receive frequent visitors, position the entry near a small reception or check-in area. For a superintendent's office, an end entry can preserve privacy and keep visitors from walking through the full workspace. If the office is paired with storage, separate personnel access from cargo access whenever possible. That separation keeps operations moving without interrupting administrative work.
Plan Work Zones Along the Long Walls
In most office containers, the long walls do the heavy lifting. They are the best locations for desks, wall-mounted monitors, shelving, electrical outlets, and document storage. Place individual desks facing a wall or window when concentrated work is the priority. Use an L-shaped workstation only when the office has enough length to maintain circulation.
A common 40-foot layout places two or three workstations along one long wall, with low storage or a narrow counter along the opposite wall. The far end can hold a compact meeting table, printer station, or enclosed storage closet. This arrangement keeps the center open and gives the HVAC system a clearer air path.
For a shared office, avoid placing a printer, coffee station, or supply cabinet directly behind seated workers. Those high-use items create repeated interruptions. Put them near the entrance or at the transition between work and meeting zones.
Windows should support the workstations rather than compete with them. Natural light can make a compact office more comfortable, but glare on laptop screens and plan tables is a real issue. Consider window placement based on the container's final orientation, local sun exposure, and the direction workers will face during the day.
Reserve Space for HVAC, Electrical, and Insulation
An office container is not functional simply because it has desks and a door. It needs stable temperature control, adequate lighting, enough circuits for actual equipment, and insulation suited to the climate and operating schedule.
HVAC equipment needs a planned location, not leftover wall space. A wall-mounted unit, mini-split head, or through-wall system should have an unobstructed throw across the room and service access for maintenance. Avoid placing tall cabinets directly below or in front of the equipment. In hot, cold, or humid regions, insulation and air sealing directly affect occupant comfort and equipment load.
Map electrical demand before fabrication. Typical office loads may include laptops, monitors, printers, lighting, HVAC, internet equipment, exterior lights, and charging stations. Put outlets near each workstation and include enough dedicated capacity for larger equipment. Extension cords running across the floor are a sign the layout missed an operational need.
Lighting should combine general overhead illumination with task lighting where teams review documents or complete detailed work. Bright, evenly distributed light is usually more useful in a field office than decorative fixtures that consume headroom or require special maintenance.
Use Partitions Only When They Earn Their Space
Partitions can create privacy, reduce noise, and separate a small meeting room from daily work areas. They also reduce usable square footage and can block light and airflow. In a 20-foot container, a full partition is often too costly in terms of space unless privacy is essential.
A partial-height divider, glazed partition, or storage wall may provide enough separation without making the office feel closed in. For a 40-foot unit, a partitioned manager office at one end can work well when the remaining open area still supports the expected number of users.
Restrooms, break areas, and specialized equipment rooms require a more detailed utility plan. Water supply, drainage, ventilation, access for maintenance, and local permitting should be addressed early. These features can be highly valuable, but they change the project from a simple office fit-out to a coordinated site infrastructure build.
Design for Delivery and Setup, Not Just the Floor Plan
A finished layout must survive transportation and arrive ready to use. Heavy cabinets, shelving, desks, and equipment should be secured for delivery. Exterior additions such as stairs, awnings, condenser units, and signage may need to be installed after placement depending on transport dimensions and route restrictions.
Confirm the placement area before ordering. The delivery truck needs a workable approach, and the site needs sufficient room for unloading and positioning. Level, stable support points help doors operate properly and reduce stress on the container frame. Plan where power will enter the unit, where exterior HVAC components will sit, and how personnel will reach the office in poor weather.
For multi-container offices, account for the sequence of delivery and installation. Joining units after arrival can create larger offices, conference rooms, or administrative complexes, but the site must accommodate cranes, access routes, utility connections, and finishing work.
Build a Layout Around the Next Phase of Work
Temporary does not have to mean disposable. A well-planned office container can move from one project to the next, change from a field office to secure storage, or be expanded as staffing grows. Select durable finishes, practical storage, and flexible furnishings when reuse is part of the plan.
Conexwest can help translate a basic floor plan into a configured office container with the doors, windows, insulation, electrical systems, HVAC, and finishes required for the job. The strongest layouts are the ones that account for daily work, site conditions, and the next operational need before fabrication begins.
Start with the path people take through the office, then give every wall and every square foot a clear purpose. That approach produces a workspace crews can use immediately and rely on long after the initial project schedule changes.