
Container Fabrication Project Guide for Buyers
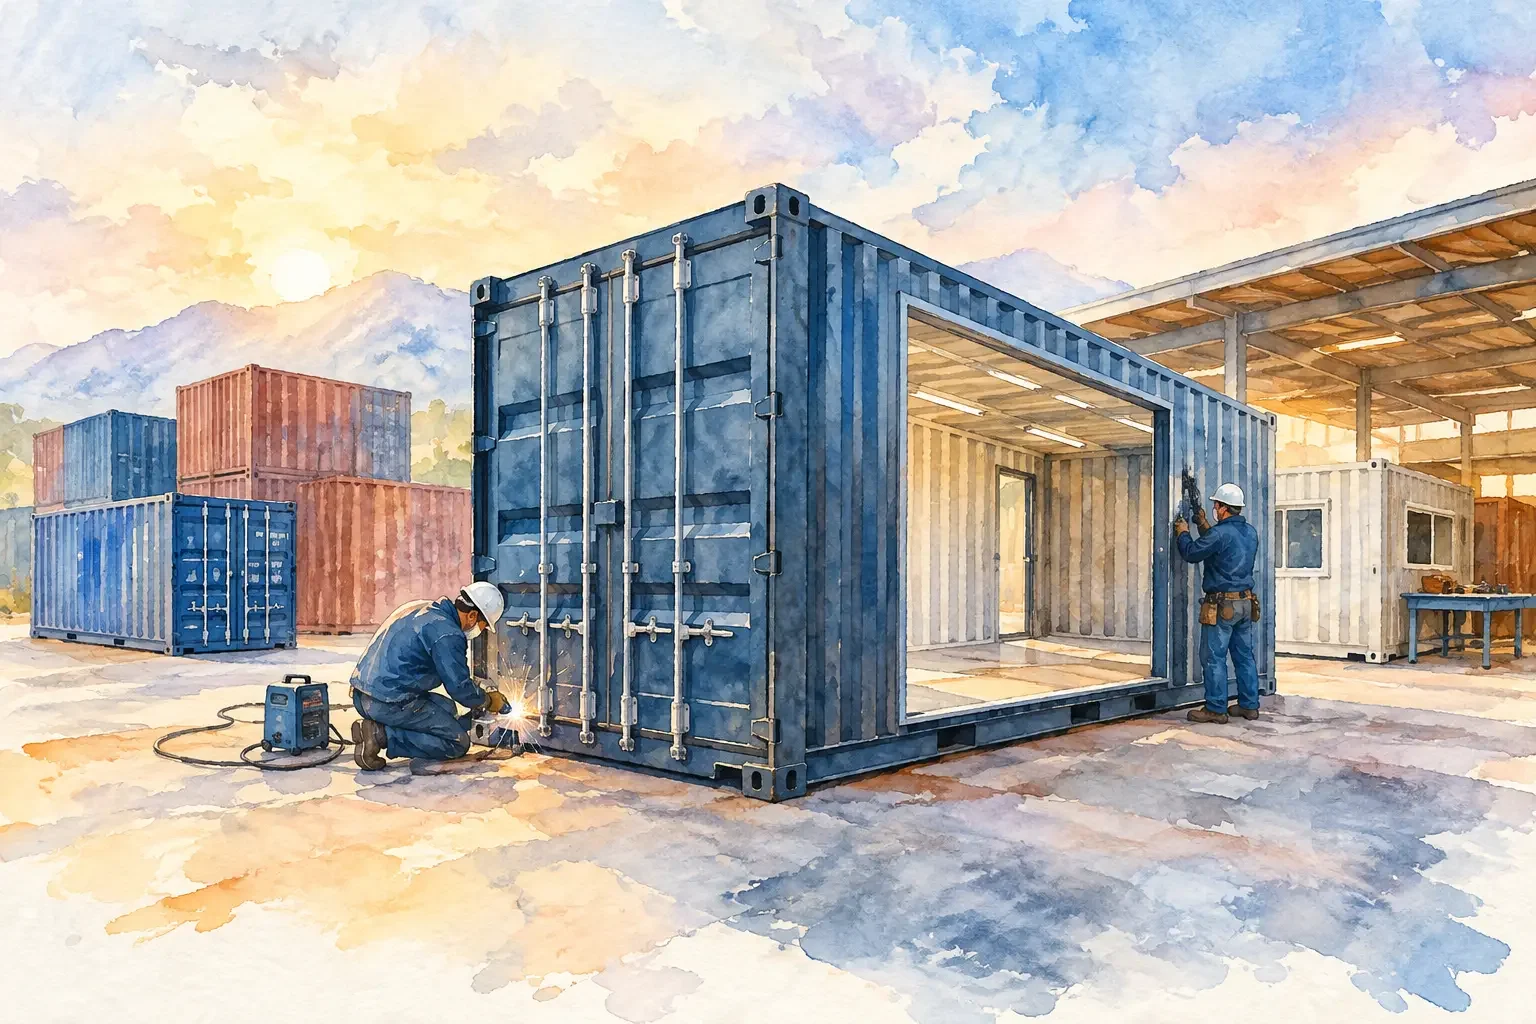
A container project usually succeeds or fails before the first cut is made. The most common problems are not welding defects or late paint decisions. They are unclear operating requirements, a container condition that does not match the application, unplanned utility needs, and a delivery path that was never verified. This container fabrication project guide helps buyers turn an operational need into a buildable, deliverable container asset.
Whether the goal is secure equipment storage, a jobsite office, a refrigerated unit, a branded retail space, or specialized industrial infrastructure, the process should begin with function. A shipping container is a strong, transportable steel structure, but it is not a blank canvas without limits. Every opening, interior finish, utility connection, and added load affects the build, cost, schedule, and field performance.
Start the Container Fabrication Project Guide With the Job
Describe what the unit must do on day one, not simply what it should look like. A construction superintendent may need lockable storage with wide access for tools and materials. A facilities team may need a climate-controlled office with power, lighting, work surfaces, and personnel access. A food distributor may need refrigerated capacity that holds a defined temperature range while supporting frequent loading.
The best requirements are measurable. Establish the interior clearances you need, what enters and exits the container, the number of people using it, expected hours of occupancy, security exposure, environmental conditions, and how long the asset will remain in service. If the project is temporary, rental may be more practical than owning a highly specialized unit. If the unit will move between sites, durability and transport configuration deserve more attention than architectural finishes.
Before requesting a quote, answer these core questions:
- What must the container store, support, protect, or accommodate?
- Where will it operate, including weather, wind, traffic, and security conditions?
- Which utilities are available at the site: electrical service, water, sewer, or communications?
- How will people, forklifts, pallet jacks, or delivery vehicles access the unit?
- What approvals, inspections, or owner standards apply to the installation?
Those answers give a fabricator enough information to recommend a configuration rather than pricing a collection of disconnected add-ons.
Select the Right Base Container
Container size and condition are foundation decisions. Common 20-foot and 40-foot units work well for storage, offices, and many commercial builds, while high-cube containers provide additional interior height for insulation, ductwork, shelving, or taller equipment. A smaller footprint may simplify placement on a tight urban site, but it can create circulation constraints once insulation and interior finishes are installed.
Condition should match the intended use and budget. A new or one-trip container typically offers a cleaner exterior, more consistent floor condition, and a strong starting point for customer-facing or long-term installations. Used containers can be an economical choice for secure storage and industrial applications when cosmetic wear is acceptable. Refurbished units may make sense when the project needs a functional, presentable asset without requiring a new container.
Do not treat condition as appearance alone. Inspect door operation, floor integrity, corrosion, roof condition, and the overall structural frame. For a climate-controlled workspace or finished commercial environment, the base container must support the planned envelope, penetrations, and long-term maintenance strategy.
Plan Structural Openings Before Interior Work
Personnel doors, roll-up doors, windows, vents, and pass-throughs are among the most useful modifications, but they change how loads move through the corrugated walls and frame. Large openings often require reinforcement to preserve structural performance during handling and use. The opening location also affects interior layout, exterior access, weather protection, and the ability to transport the unit safely.
For example, a roll-up door can improve forklift access to stored inventory, but it may reduce usable wall space for shelving. Windows make an office more comfortable and improve visibility, but they add security and solar-gain considerations. A well-designed project weighs those trade-offs early instead of treating each modification as an isolated upgrade.
Design the Interior Around Actual Workflows
Fabrication choices should follow the way crews use the space. A storage container may need shelving, tool racks, lockboxes, lighting, and a lockable access point that keeps materials secure. An office container may require insulation, wall finishes, HVAC, electrical panels, outlets, data pathways, lighting, and workstations. A specialty unit may need equipment pads, ventilation, drainage, washable surfaces, or segregated zones for safety and sanitation.
Insulation and HVAC require particular coordination. Insulation improves comfort and reduces heating and cooling loads, but it reduces interior dimensions. A container used in hot, humid, or cold regions should be designed as a complete thermal system, not simply fitted with an air conditioner. Wall, roof, and floor insulation; air sealing; ventilation; window placement; and expected occupancy all influence equipment sizing.
Electrical planning is equally practical. Identify the available site service, voltage requirements, panel capacity, outlet locations, lighting needs, exterior connections, and any dedicated loads for HVAC, refrigeration, pumps, or equipment. Designing these elements during fabrication is usually cleaner and more reliable than trying to route systems through a completed unit in the field.
For projects that will face customers or the public, exterior paint, signage zones, awnings, entry layout, and branded finishes should support operations as well as appearance. A polished exterior does not replace secure hardware, drainage planning, or durable flooring. Commercial container builds work best when the customer experience and the maintenance plan align.
Build Delivery and Site Readiness Into the Scope
A fully fabricated container is only useful when it can reach the site and be placed safely. Confirm delivery access before fabrication begins. This includes road conditions, turning radius, overhead clearances, gate width, staging space, truck access, and the final placement method. A container may arrive by tilt-bed truck, chassis, crane, or other equipment depending on the location and the unit's configuration.
The site itself needs a stable, level bearing surface. Depending on the application, that may involve compacted gravel, concrete pads, piers, or engineered foundations. The appropriate approach depends on soil conditions, local requirements, occupancy, utility connections, and whether the container will remain mobile. Poor support can affect door alignment, drainage, and long-term performance.
Utility connections should be planned with the same discipline. Determine where power enters the container, how cables are protected, where condensate drains, and whether water and sewer connections need frost protection or accessible shutoffs. If permits or inspections are required, confirm the applicable local process early. Container projects can move quickly, but jurisdictional review and site work may set the real schedule.
Review the Quote as a Complete Project Scope
A useful fabrication quote should make the asset understandable. It should identify the container size and condition, the modifications included, interior and exterior finishes, electrical or mechanical scope, delivery assumptions, and any work that remains the customer's responsibility. This prevents a common gap: assuming that a fabricated unit includes foundations, utility tie-ins, permitting, or offloading when those services were not part of the agreed scope.
Ask about fabrication lead time, delivery timing, payment milestones, warranty coverage, and how changes will be handled after production begins. Custom work involves sequencing. Moving a door after steel reinforcement, electrical rough-in, insulation, and wall finish are underway can affect both cost and schedule.
For more complex builds, a coordinated provider can reduce handoffs between container sourcing, fabrication, and delivery. Conexwest approaches these projects as configured infrastructure, helping buyers align the base unit, modifications, and logistics with the job the container must perform.
Inspect Before Acceptance and Plan for Service
At delivery, inspect the unit against the approved scope. Test doors, locks, windows, lighting, outlets, HVAC, refrigeration equipment, and any specialty systems. Check that exterior penetrations are sealed, floor surfaces are intact, and the container sits level enough for doors and drainage to function correctly. Photograph the delivered condition for project records.
After installation, establish a basic maintenance routine. Keep roof surfaces clear of standing debris, inspect sealants and door gaskets, touch up damaged paint promptly, and service HVAC or refrigeration equipment according to its requirements. A container is designed for demanding transport environments, but site-installed modifications still need periodic attention.
The right build is not necessarily the one with the most features. It is the one that gives your team secure, usable capacity on the day it is delivered, with a configuration that remains practical as the site and operation change.